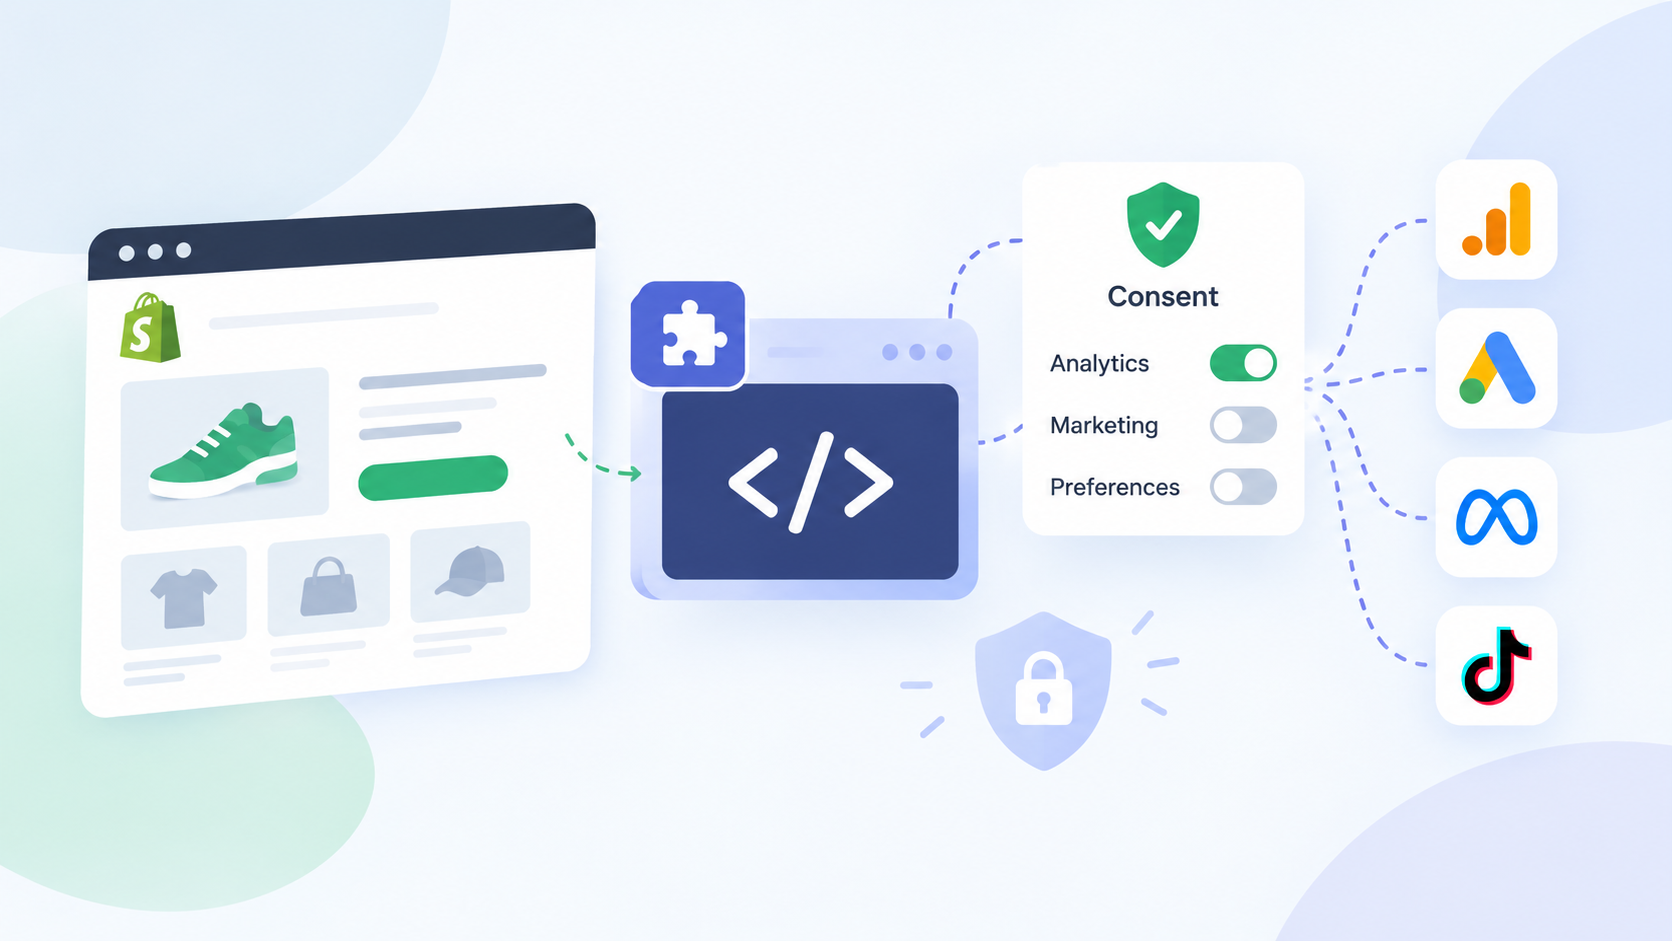
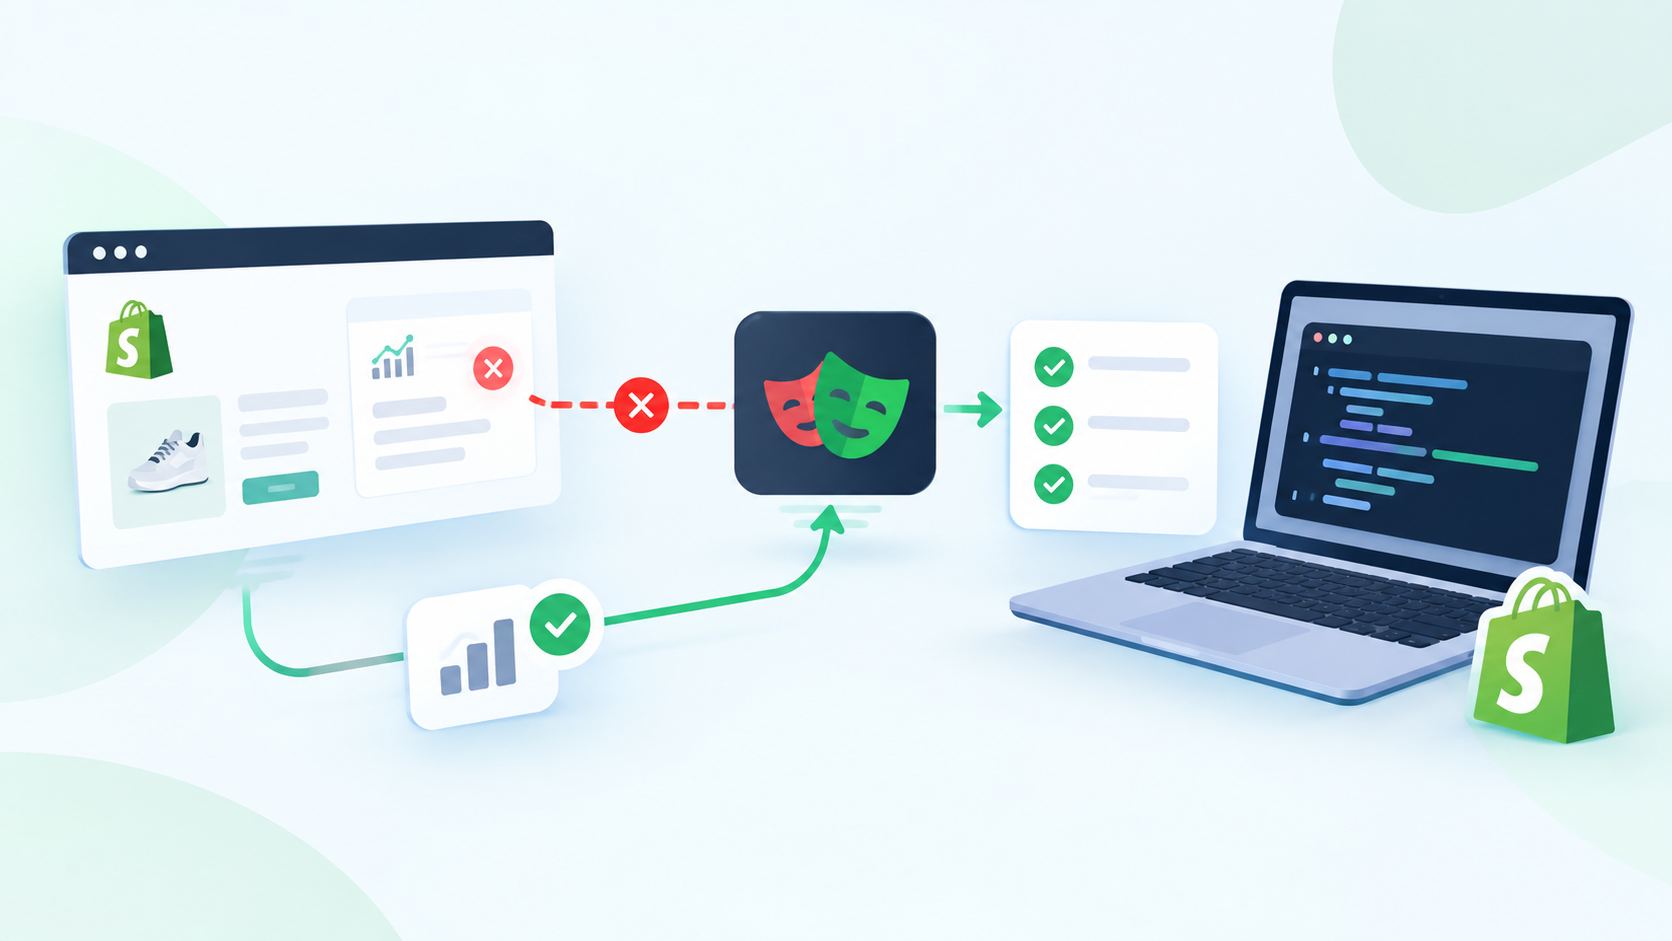
How to Build a Reliable Shopify Purchase Event with Custom Pixels, a Data Layer and GTM
Most tracking guides begin with the tool. This one begins with the event.
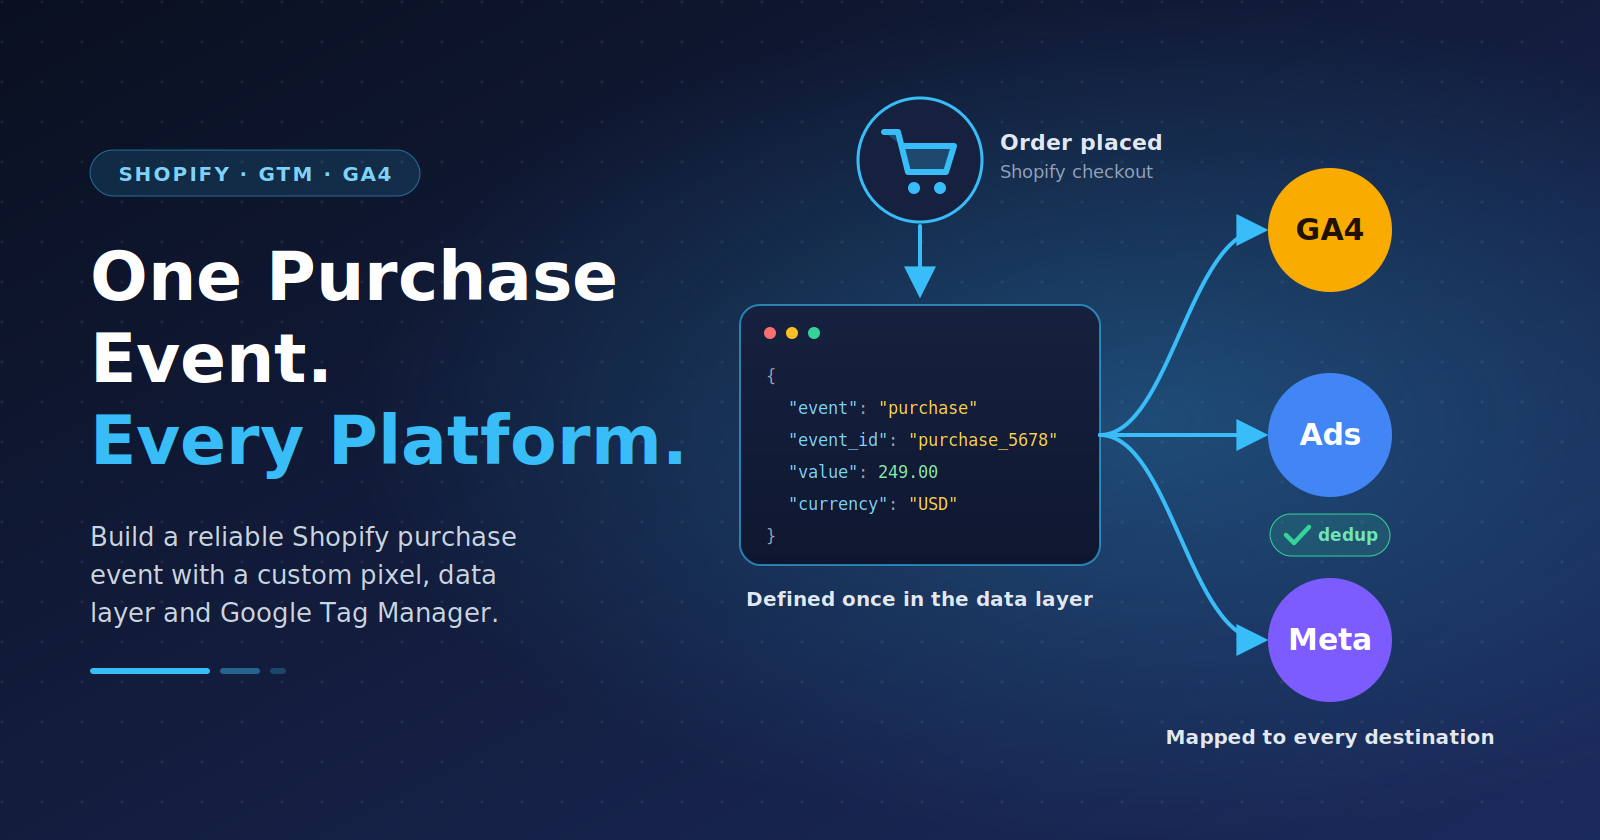
If you define a single purchase event properly, with a predictable shape and a stable ID, every destination (GA4, Google Ads, Meta, or anything else) becomes a mapping job rather than a separate integration.
This guide walks through building that event on Shopify using customer events, a custom pixel, the data layer, and Google Tag Manager. It assumes you are comfortable with JavaScript and GTM basics.
The Goal: One Event, Defined Once
Before writing code, decide what a purchase event should look like in your system.
A minimal, GA4-friendly shape looks like this:
{
  "event": "purchase",
  "event_id": "purchase_5678901234",
  "ecommerce": {
    "transaction_id": "5678901234",
    "value": 249.00,
    "currency": "USD",
    "items": [
      {
        "item_id": "SKU-123",
        "item_name": "Example Product",
        "price": 249.00,
        "quantity": 1
      }
    ]
  }
}
Three decisions matter here:
Stable event ID: Derive it from the order, not from a random value generated per page load. If the same order ever produces the event twice, the ID stays the same.
Numeric values as numbers: Send
249.00, not"$249.00". Formatting errors at this layer are a common reason revenue looks wrong in reports.One shape for every destination: GTM tags read from this structure instead of each platform getting its own custom logic.
Step 1: Understand Where Your Code Can Run
Shopify's checkout is locked down, so you can't drop arbitrary scripts into it the way you could on older setups.
Tracking in checkout is now handled through customer events, where a pixel subscribes to events emitted by the store and runs in a sandbox.
Shopify has been moving stores from older checkout customization methods to this model, so check the current Shopify documentation for what applies to your plan and checkout version before building.
Two practical consequences:
Your code runs in a sandboxed environment and can't read the storefront's
windowdirectly. It receives data through the event object.You can load GTM inside the pixel's own sandbox. GTM then works with a
dataLayerthat lives in that environment.
Step 2: Create a Custom Pixel
In the Shopify admin, go to Settings → Customer events and add a custom pixel.
The pixel subscribes to the checkout_completed event and pushes your standard shape to the data layer.
// Custom pixel: runs in Shopify's sandbox
window.dataLayer = window.dataLayer || [];

analytics.subscribe('checkout_completed', (event) => {
  const checkout = event.data.checkout;
  const orderId = checkout.order && checkout.order.id;

  if (!orderId) return; // Don't send an event without an order

  const items = checkout.lineItems.map((line) => ({
    item_id: line.variant && line.variant.sku
      ? line.variant.sku
      : String(line.variant && line.variant.id),
    item_name: line.title,
    price: Number(
      line.variant &&
      line.variant.price &&
      line.variant.price.amount
    ),
    quantity: line.quantity,
  }));

  window.dataLayer.push({ ecommerce: null });

  window.dataLayer.push({
    event: 'purchase',
    event_id: 'purchase_' + orderId,
    ecommerce: {
      transaction_id: String(orderId),
      value: Number(checkout.totalPrice.amount),
      currency: checkout.currencyCode,
      items: items,
    },
  });
});
A Few Important Notes
Field names such as checkout.order.id, totalPrice.amount, and lineItems should be verified against Shopify's current customer events reference, as the structure can change between versions.
Clearing ecommerce with null before each push prevents old ecommerce values from leaking into the new event.
The early return also prevents the pixel from sending a purchase event when there is no real order behind it.
Load your GTM container snippet at the top of the same pixel so it initializes before the data layer push.
Step 3: Map the Event in GTM
Inside Google Tag Manager, build the mapping once.
1. Create the Trigger
Create a Custom Event trigger with:
purchase
2. Create Data Layer Variables
Create variables for:
ecommerce.transaction_id
ecommerce.value
ecommerce.currency
ecommerce.items
event_id
3. Configure the GA4 Tag
Create a GA4 Event tag with:
Event Name: purchase
Use the ecommerce data from the data layer for the relevant parameters.
4. Map Other Destinations
Google Ads, Meta, and other destinations can read the same variables.
Each platform becomes a mapping exercise rather than another custom tracking implementation.
That is the main advantage of defining the event properly at the source.
If the value format needs to change or a bug needs to be fixed, you fix it in the pixel. The downstream tags don't need to be rebuilt.
Step 4: Use the Event ID for Deduplication
If you later add server-side tracking, the browser event and server event need to share an identifier so the destination can treat them as the same action.
Because the event ID in this example comes from the order:
purchase_<orderId>
a server process — for example, one triggered by an order webhook — can generate the exact same ID from the same order.
You can then pass that value in the event ID field supported by the destination, such as event_id for Meta's Conversions API.
The rule is simple:
Derive the ID from something both sides already know.
That is much more reliable than generating a random ID independently in the browser and server.
Step 5: Test the Whole Path
Don't stop at confirming that the tag fired.
Test the entire tracking path.
1. Place a Test Order
Place a test order and note the actual order ID and order total.
2. Inspect the Data Layer
Confirm that:
transaction_idmatches the ordervaluematches the order totalcurrencyis correctvalueis a number rather than a formatted stringitemscontains the expected products
3. Check GTM Preview
Open GTM Preview and confirm that the purchase trigger fires once.
If it fires twice, investigate before moving forward.
4. Check the Network Request
Open the browser's Network tab and confirm that the request to the destination contains the expected parameters.
5. Check the Destination
Use the relevant debugging tools, such as:
GA4 DebugView
Meta Events Manager → Test Events
Google Ads conversion diagnostics where applicable
Confirm that the event is actually being received and processed.
6. Reload the Confirmation Page
Refresh the confirmation page and verify that it does not create another purchase event.
This last test catches a surprising number of duplicate-event problems.
Common Mistakes to Avoid
Generating a Random Event ID on Every Load
A new ID on every page load defeats the purpose of deduplication.
If the same order is sent twice with two different IDs, the destination may treat them as two separate purchases.
Sending Formatted Strings as Values
Avoid:
value: "$249.00"
Use:
value: 249.00
Currency symbols and thousands separators should not be part of numeric tracking values.
Rebuilding the Event for Every Platform
Creating a completely different purchase payload for GA4, Google Ads, Meta, and other platforms is how tracking implementations gradually drift apart.
Define the event once and map it downstream.
Skipping the ecommerce: null Reset
Without clearing the previous ecommerce object, stale values can remain in the data layer and potentially contaminate subsequent events.
Assuming the Sandbox Behaves Like the Storefront
It doesn't.
Shopify's customer events environment has its own restrictions and execution model. Test the implementation inside that environment instead of assuming storefront JavaScript behavior will carry over.
Where a Ready-Made Setup Fits
If you would rather not maintain this tracking layer yourself, it helps to know what a good implementation should do.
Look for:
One consistent event definition
Stable event IDs
Validated payloads
Consistent ecommerce parameters
Browser/server deduplication
Support for multiple advertising and analytics destinations
Webgarh GTM Assistant handles Shopify tracking across GTM, GA4, Google Ads, and Meta, with the goal of removing much of this manual setup.
You can also find it on the Shopify App Store.
Even if you decide to build your own implementation, these are useful criteria for evaluating any Shopify tracking solution.
Wrapping Up
A reliable purchase event comes down to a few decisions made early:
One shape. Numeric values. An ID tied to the order. A test routine that checks the actual data, not just whether a tag fired.
Get those right once in the pixel, and every platform downstream becomes much easier to manage.
Once the event is stable, it also pays to monitor it over time.